Showing posts with label products in action. Show all posts

It's So Easy a 4th Grader Can Create Movies!

Want to create great presentations beyond the world of PowerPoint with your students? If yes, then stick around for this!

This is a 4th grade student showing how to create a green screen presentation.  Watch and see how simple it really is.


You can find a detailed video tutorial here.


And grab some FREE planning pages to make the process even easier.


Stay tuned for more exciting technology-related literacy finds!

Until the next post...


0

How To Use a Green Screen in Your Classroom! (Raising Real Readers Episode 4)

Have you been looking for the key to adding excitement into your curriculum?  Are you looking for fun ways that encourage your students to utilize those ELA CCSS?  What better way than to use a green screen in your classroom?


I have been using a green screen in my classroom for about two years and my students and I absolutely love it!  I started out by making green screen book trailers, but have learned along the way that it can provide multiple ways to cover so many of those ELA CCSS skills and in such a way that students are motivated and excited about learning.


The link below will take you to your FREE download including a few of the ways I utilize my green screen.  It includes lesson plans and links to examples.  I have many more ideas that I am currently working on and when I have examples available and lesson plans ready, they will be posted to my TpT store.  So when visiting for your free download on my TpT store, click the "Follow Me" button to receive notifications of additional FREE products.  I also would greatly appreciate any feedback or questions you have on these materials.


I am continually posting pictures and links to my Facebook and Instagram accounts in order to provide teachers with examples and lessons directly from my classroom.  If you would like to see how the green screen is used in person you might want to follow either of these accounts.  Both are found at link2teach.

Facebook:  (click here to visit)

Instagram: (log in and search for me then follow to see more posts:)
@link2teach


I did a Periscope on using the green screen in the classroom.  Click the link below to view this Periscope. :)


My next quest to have teachers share their fabulous photos, videos, and activities using a green screen.  If you would like to be part of this amazing team of teachers sharing exciting ways to use technology to teach, excite, and motivate your students, come join our team by following myself or my partner Kami Butterfield @teachingwithappitude on Facebook, Instagram, Twitter, or Periscope.

Looking forward to seeing the many ways you choose to use a green screen in your classroom!

Until the next post...

0

Raising Real Readers Episode 3: How Do I Keep Them Reading?

So you've found out about your students as readers (Reading Interview-Episode #1).  You've helped them to find a great book you are SURE they will love (Let's Find You a Great Book-Episode #2). You and your student are giddy with excitement and you watch proudly as the student heads home for the first time with every intention to read that book with gumption!  Then...the wind is knocked out of you when you ask., "So how is that book going?" and the student responds, "Oh...I turned that book back in."  OUCH!

So how do you avoid this or at least take steps to help your students when they figure out the book you chose together isn't for them and the answer is NOT to simply turn it back in unannounced?

Watch this video replay of my Periscope "Raising Real Readers Episode 3: How Do I Keep Them Reading?" for some simple and quick tips that have been proven successful with even the most reluctant readers.

(Click the link below to view the Periscope video.)


Here are the items I promised in the scope...

Some of the items in the free download are shown below.

(Click the link below to grab your free copies.)

http://bit.ly/Episode3Files

Book Chat Guides


Using Instagram To Motivate Readers

1.  Parent Notification


3.  Classroom Display Ideas & Board Example (printable images for board included)


 4.  Printable Post Pages For Student Creation By Drawing
5.  Example of Post created using PicCollage

There will be MANY more ideas shared in upcoming posts about how to maintain readers' engagement in your middle grade readers!  

Follow my blog, on Periscope or my Teachers Pay Teachers store for notifications of additional items and ideas. :)

Until the next post...


0

Raising Real Readers Episode 2: Let's Find You a Great Book!

Step 1:  Get to know your students as readers.  (Use a reading interest inventory, but be sure to do it as a face to face interview not a written response interview.  You can get to know your students much better by talking to them.)  Here's a link to my free one I developed that gets the most out of getting to know student's "reader qualities".  (click on the link)  bit.ly/ReadingInterview

Step 2:  Find them great books!!!

How, you ask?  Well...you could take a stroll through your classroom library, take them to the school's library, tell them of books you liked as a child, or even get some help from your librarian.  These things are all fine and can work, but over the years I didn't have great success with any of these methods.

I've stumbled upon one that works...would you like to hear more?  Two little words...

BOOK

TRAILERS
Think about it...how do you know you want to see a movie?... Yep!  You see a trailer!  Movie trailers are one of the largest marketing tools used by major motion movie companies!

That's what we are doing when we try to suggest good books right? Marketing?  Well guess what? Today's kids respond to visuals that are quick, exciting, and strike a chord with an emotion.  What better way than to hook them with book trailers?

One more example...

How many of you have shown your students the video that comes with the book fair books?  Scholastic or whatever company comes to your school knows that movies...the big screen...and sound, lights, and color appeal to our children.  Now after the showing the trailer how many of you see your students B-lining it to the books that were on the video?  BINGO!  That's what mine do.  Honestly no matter how much I try to "sell" the other books on the carts...those books go first.

How do my students view using a QR code?
It's very EASY!  There are QR Reader Apps for both Android (Google Play Store) or Apple Based (iTunes Store).  The ones I use are free.  So there you have it!  Simple-Free-Fun-Effective!!!  


How do I locate great titles?
Here are some sites I found that gave me some titles:
www.dawcl.com
http://www.ala.org/alsc/awardsgrants/bookmedia/newberymedal/newberyhonors/newberymedal
http://www.rebeccacaudill.org/

Look up your state's middle grade reader awards.  Many states have them or ask your local librarian where to locate it.

So I think we are on to something here.  Watch my Periscope by clicking on the link below to see how I use book trailers in my classroom to help my students find books that they WANT to read and usually WANT to finish. (click on link to view)

Now for my Tip To Take Today!

I vowed to follow up my Periscope sessions with usable information that you can take with you and use the very next day in your classroom so here it is!  (click the link to grab your free copy)


Step 3: How Do I Keep Them Reading?  Periscope 6pm CST 2/4/16 Jenny@Link2Teach.  Hope to see you there!

Until the next post...


0

Craftization: Where Beauty Meets Organization (Desktop Organization That Inspires!)

Welcome!!!! So glad you stopped by!  Today we talk about providing yourself with a workspace that allows you to maximize your productivity!

Take a look at your workspace, your desktop, your desk drawers.  Are they messy, unorganized, and full of things you do not need?  Clear that clutter!  Take a minute to get rid of the items you have not used on over 6 months or (all you teachers) in one school year.

--------------------------------------------------------------------------------------------------------------------------

Quote for today:


So with that, let's get started with our next project...Desktop Organization That Inspires!

--------------------------------------------------------------------------------------------------------------------------

Directions:

Here are the directions: (Click on the link)


Here's the link to the Periscope:

--------------------------------------------------------------------------------------------------------------------------

Tip To Take:

Have everything you need within reach!  
Items that you use on a daily basis on your desk will maximize productivity!

--------------------------------------------------------------------------------------------------------------------------
So grab a pen and paper, make that list. and get started on your way to a fabulously organized and BEAUTIFUL workspace!

Until the next post...


0

DIY Light It Up Message Box!

Craftization:  Where Beauty Meets Organization Series

I'd like to take a minute to explain the motivation behind my quest to offer this series. 

Say it with style!  Whether you need a "pick me up" for your office or school, or you'd like to announce messages to your students in style, this project can do it all!

Beautiful things can spark motivation in most of us.  Why not surround yourself and your students with beautiful things that excite and energize?  I know that I work so much better when things are organized, clutter-free, and aesthetically appealing.  Honestly, my students do as well.  

I find that the simplest decorative or organizational items placed in my classroom evoke immediate interest in about 95% of my students!  Something as simple as a vase of fake flowers in a vase filled with ABC's got my Kindergartners super excited!  It doesn't take much to add a little flare to encourage excitement and motivation.

Let's turn our thinking to ourselves.  What kind of workspace do you perform best in?  A cluttered, messy, hodge-podge, area or one that is organized and beautiful.  I know that I work best when my items are organized and within reach but it helps a tiny bit more if they all look wonderful and cohesive too.  It might be that I'm a little OCD but I'm thinking that professional organizers and home interior designers would beg to differ.  After all they make a living out of providing their customers with organized beauty.

"A clutter-free area=a clutter-free mind" The message behind this quote is why I am devoted to not only cleaning up and jazzing up my work area, but also to offer YOU an invitation to take this journey with me through social media.  

As teachers/teacherpreneurs we have many needs from content & research, tips & resources, to clarity & a healthy mindset.  Putting all of these things together is key to becoming and feeling successful.  I have gained SO much from so many wonderful teachers/teacherpreneurs over the past 6 months.  The knowledge and encouragement that has been afforded and offered to me is priceless.  I cannot believe how my life as a teacher and person has changed due to all of this outpouring of support/assistance/ and camaraderie.

Even with all of this, I still felt that I needed more...I know...how could I possibly need more?  Over winter break I was sitting in my usual work spot and couldn't find inspiration at all.  Each day I struggled to create and felt a little worn down.  I couldn't figure it out and I started to worry that I might have lost my desire or ability to be creative and focused, until one morning I woke up to immediate clarity.  I knew what was wrong!  My work space was AWFUL!  I had no desire to work where I was trying to work.  My items were disorganized and their placement made no sense.  I NEEDED organizational clarity and I longed for that space to be a place I wanted to be.

So...I ran off to Hobby Lobby and giggled and smiled as I chose my new office decor!  Guess what? I have accomplished more in the past 3 weeks in that space than I had accomplished in the past two months!

We all need different things to achieve our goals, but I'm pretty sure that our #teacherprenuertribe #thmpride group #teachersofinstagram etc. friends will not give up on helping and inspiring each other...EVER!

So I'd love to join in and help out, even a little, if I can.  I'm offering some inspiration and information in the area of providing organizational workspace advice and tips.  If you'd like to join me you can find me here, Periscope, Facebook, Twitter, and Sheila Jane's Teach Happy Membership.
Together we can conquer anything...#likeaboss  #girlboss(for the ladies) :)

Here's my latest Periscope idea in my Craftization Series: Where Beauty Meets Organization!

Lighted Message Board


Click on the link below to grab these free directions!


Take some time and do something creative for yourself.  Channel your inner crafter.  Enjoy your day and make your message shine!

Until the next post...


0

Craftization: The Art of Organized Beauty (Message Board My Way)

Looking for a way to relax and destress? I know that I am less productive in a messy unorganized environment.  How many times have I found it hard to work from home because the laundry is piling up or clutter is invading my space?  Plenty!  I find that my mind is happy and most productive when my space is clean, organized and beautiful!

This is why I'm marrying my two passions, teaching and organizing to provide myself and those who choose to join me on a quest to find peace, focus, and productivity through Craftization!

Each week, or more depending upon the projects, I will plan and present a new Craftization project to inspire your heart and your mind!  All projects will be shown live or on replay through Periscope. You can also check back here, my blog, to find the scopes and the instructions page for each craft whenever you have a free minute and are looking for some organization craft therapy.

Hopefully these ideas will fuel your creative brain and help you to become the productive teacher/teacherpreneur you long to be.

Let's get our craft on!!!

Grab the directions here:


View the Periscope here: (Click the link)


Here's another one I made for school to hang by my desk.  I fastened it with 3M strips.  It is made from an old picture I didn't like anymore.  I took out the painting and replaced it with the same steps as above.  You can basically use ANY frame you have laying around.  (Thrift stores, Goodwill, garage sales, dumpsters, friends' houses... he he:)


Until the next post...


0

Teaching What Visualizing MEANS with an Amazing Picture Book!

A few years ago, I noticed how well my students were picking up on their decoding skills.  I had been utilizing the Beanie Baby Strategy I came upon while helping my neighbor girl with her homework one day. I looked them up online and I gave them a try.  After 3 years, I could see a dramatic difference not only in the usage and understanding of decoding strategies, but the motivation they created.  Simply placing the animals in the center of our reading table caused excitement!

I began to use the same Beanie Baby Strategies I found to introduce and reinforce the comprehension skills I was teaching as well.  For some odd reason, they didn't catch on.  I chalked it up to comprehension being a much more difficult skill to attain.  But one day, I stumbled upon a cute little book about a chicken and his father and the way I taught comprehension changed forever! (See older post "How a Children's Book Changed the Way I Taught Comprehension".

I began to feverishly search for books that held a comprehension strategy message.  The catch was, I had to tie that message to an animal to keep the Beanie Baby momentum in motion.  This was quite the search.  My local librarian and the children's department head at Barnes and Noble got to know me quite well.  I read hundreds of books and have been able to create meaningful comprehension strategy lessons with a deep connection to the skill/animal.

This scope, although I'm still a newbie at Periscope, is my attempt to share my thoughts and a little information about the strategy and its development.  (Please excuse the eye blinking...geesh...I guess I blink when I'm thinking.)
I hope this helps to explain my thinking and how I go about introducing our first visualization experience.

Until the next post...


0

My 1st Periscope!! 8 Picture Books That Will Change the Way You Teach Comprehension

AHHHHH!!  I have been lurking Periscope since July when Angie from Lucky Little Learners and Ashley from Schroeder Shenanigans in Second did their first scope LIVE from the TpT conference in Vegas.

What an exciting day in history...in my opinion!  I have found that Periscope can really be an amazing tool to help educators "spread the word".  I took the plunge today and did my first scope from my classroom, since all of the things I needed to show you were there.

In my scope I share with you the 8 children's books I use to teach my struggling readers HOW to comprehend.  Comprehension is such an enormous concept!  It envelopes so many skills that happen simultaneously.  I'm not sure how so many people "get it" so easily...something to think about...

Well my kiddos struggle to comprehend and I needed to find a fun, easy to remember, mnemonic type device that resonated with them and motivated them to want to take on this ginormous task!

This scope was my introduction into the WHY and a tid bit of HOW I use these books to teach comprehension.  Please excuse the newbie mistakes...(how do you turn this thing off????) Ha!  I actually cackle laughed when watching the replay.

Here it is:


My hope is this sparks a thought, intrigues you into wanting to dig for good picture books to use, and maybe even gives you a chuckle as I fumble through my first scope.

Here's the book titles I showcased:


Until the next post...


0

How a Children's Book Changed The Way I Taught Comprehension: Step by Step Tutorial

Teaching children to think while they listen/read is key to building comprehension proficiency. There are many components to comprehension, but skipping this important step in teaching comprehension can make all other attempts futile. Over the past 26 years as an educator, I have searched for the answer to help young readers understand the art of comprehension.  A couple of years ago I stumbled upon a children's book that changed the way I introduce and teach thinking while reading.

I was asked to be a guest reader in a first grade classroom and was browsing new titles in an attempt to share something new and fun.  I found a book written by David Ezra Stein called Interrupting Chicken.  What caught me was the cover with its speech bubbles and fantastic illustrations, but little did I know that this book would revolutionize the way I teach my young readers to "understand" what they read. (At the end of this post I will include some links to some freebies I created for text interaction.)


Day 1: Below is the introduction lesson, please excuse the poor filming, showing how I use the book to teach students to THINK while listening.  Not only does the story model thinking aloud through its storyline, but it lends itself beautifully to personal reactions and helps readers to naturally interact with text.  I use manipulatives to help students show their understanding. Note: These are my 3rd grade Title I students.


Day 2: Our first read aloud book for 3rd grade is called Gloria Rising by Ann Cameron.  I chose this book because the readability level is perfect for my particular students and the author does a great job of developing characters that students can relate to.  We do quite a bit with characterization in 3rd grade and this book is a great start to that concept.

On this second day of teaching text interaction we reviewed how Little Chicken taught us that in order to interact with text, the reader/listener has to do many things.  He has to recall, listen, create, and know when interaction is important to the development of the story.  

We started by previewing the text...a must.  We looked at the cover and began jotting down our thoughts.  We then read the back cover...another must, and jotted down more thoughts.  This allows readers to start the process of building background knowledge for the text at hand.  Their minds begin to understand and wonder what the book could be about.  It's the HOOK that helps reluctant readers WANT to read/listen on.  It gives them a purpose for reading.

Just look at all the thoughts they had before even cracking it open!


Day 3:  The next day we read chapter 1 together.  Before reading we reviewed our thoughts in order to recall our previous thoughts about the book and allow us to possibly find some answers to our questions/thoughts.  I used a different color for each student in order to keep track of each of his/her thoughts. My thoughts were modeled in blue.  If you notice there were only two other colors used, showing that one student was struggling with the concept.  I continued to talk through each student's thoughts asking them to share how they came to that thought.


Day 4:  On this day we read chapter 2 together.  We reviewed our thoughts from day 3 revisiting the idea that many of our questions were answered within the same chapter.  Also that having these questions/thoughts motivates us to want to find out the answers by reading on.  As you can see student #3 (green) had a great day!  He was now able to participate by sharing some great thoughts about the title of the chapter, The New Pet.  He also was able to create a thought about why the main character might not want her onion used, since a famous astronaut touched it making it valuable to her. Yes!  

Days 5-8:  We used this day to continue reading the story aloud and charting our thoughts together. This lesson's focus was to help deepen our understanding of thinking while listening.  Once I felt they were understanding the concept, we moved from writing their thoughts on a chart together to writing down our own thoughts independently in their thinking journals. This type of slow progression from modeled/together type activities to more independent activities helps to scaffold students to become confident with the task which leads to more success overall.
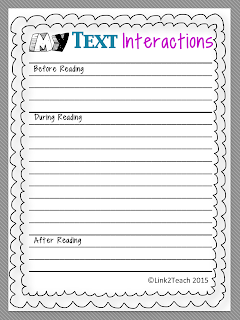
I use this version when reading a short story and a blank version when reading a chapter book. Both found below for FREE:)

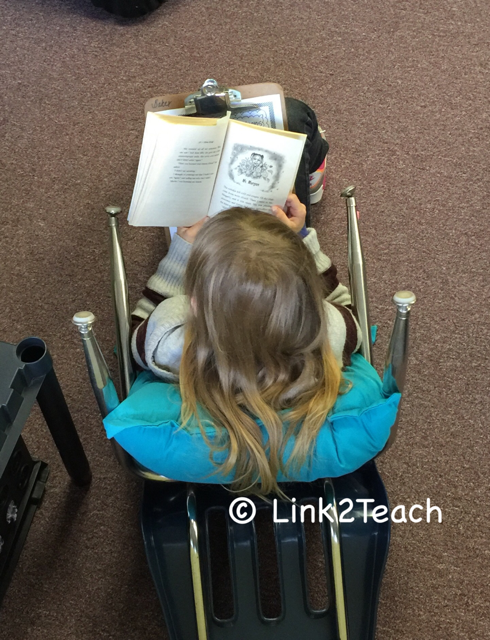
Days 9-end of book:  These lessons bridged students from reading, sharing, and discussing the story together to allowing students to perform all of these tasks independently.  Students spent the next few days reading and writing their thoughts (text interactions) independently.  At the end of each day, we came together to share our thoughts and discuss our findings.


Here's Day 1 of Interacting On Our Own!

(Pink Student)

This student wondered who Gloria had to write to.  She is unfamiliar with the idea of having to do "writes".  She also is wondering why the teacher is staying after school.  While reading she found her answer and noted it.  Her teacher had to stay because she had to paint a project.


 (Purple Student)


The last thoughts were from this lesson.  She wondered if the character was going to stay in her class or go to another one.  She also wondered if her new teacher was going to like her.  (This will give her something to focus on when reading the next time.)

(Green Student)

This student was the one who was struggling to produce thoughts about the story in the beginning.  He is still struggling with his understanding since his thought from reading alone says, Why is she growling at them? This didn't happen, so he is most likely not understanding what his is reading. I will meet with him to have him explain his thinking and review that portion of the story with him to see where the "breakdown" occurred.

All of them were SO excited to "show off" their new skill!  They did a great job!  Two
 of them came up with quality thoughts about what they read!  The best part is that they felt like experienced and confident readers!  That is why I firmly believe in scaffolding the process of introducing new comprehension concepts/strategies!  So excited for them to utilize this skill with books of their choice!


Exciting News:  I learned a nifty new trick while visiting my local Staples!  You can use pdf files to create posters!  I know...creating posters is not a new idea, but usually they are SO expensive
(not an option for most
teachers on a budget).  But the lovely lady in the photo department helped me to create this 24x36 poster for only $6!!!  It is an engineering print and believe it or not the quality is unbelievable!  I'M HOOKED!  Just think how cheap they will be when they run a sale!! I'm stocking up my images for that glorious day.


Next time we work on this skill we will narrow our focus from any thoughts to more specific thoughts such as:
 predicting-questioning-inferring-connecting-etc.
Now that they are understanding how to get involved in the listening/reading process, we have opened the door to multiple ways to improve our comprehension skills. 

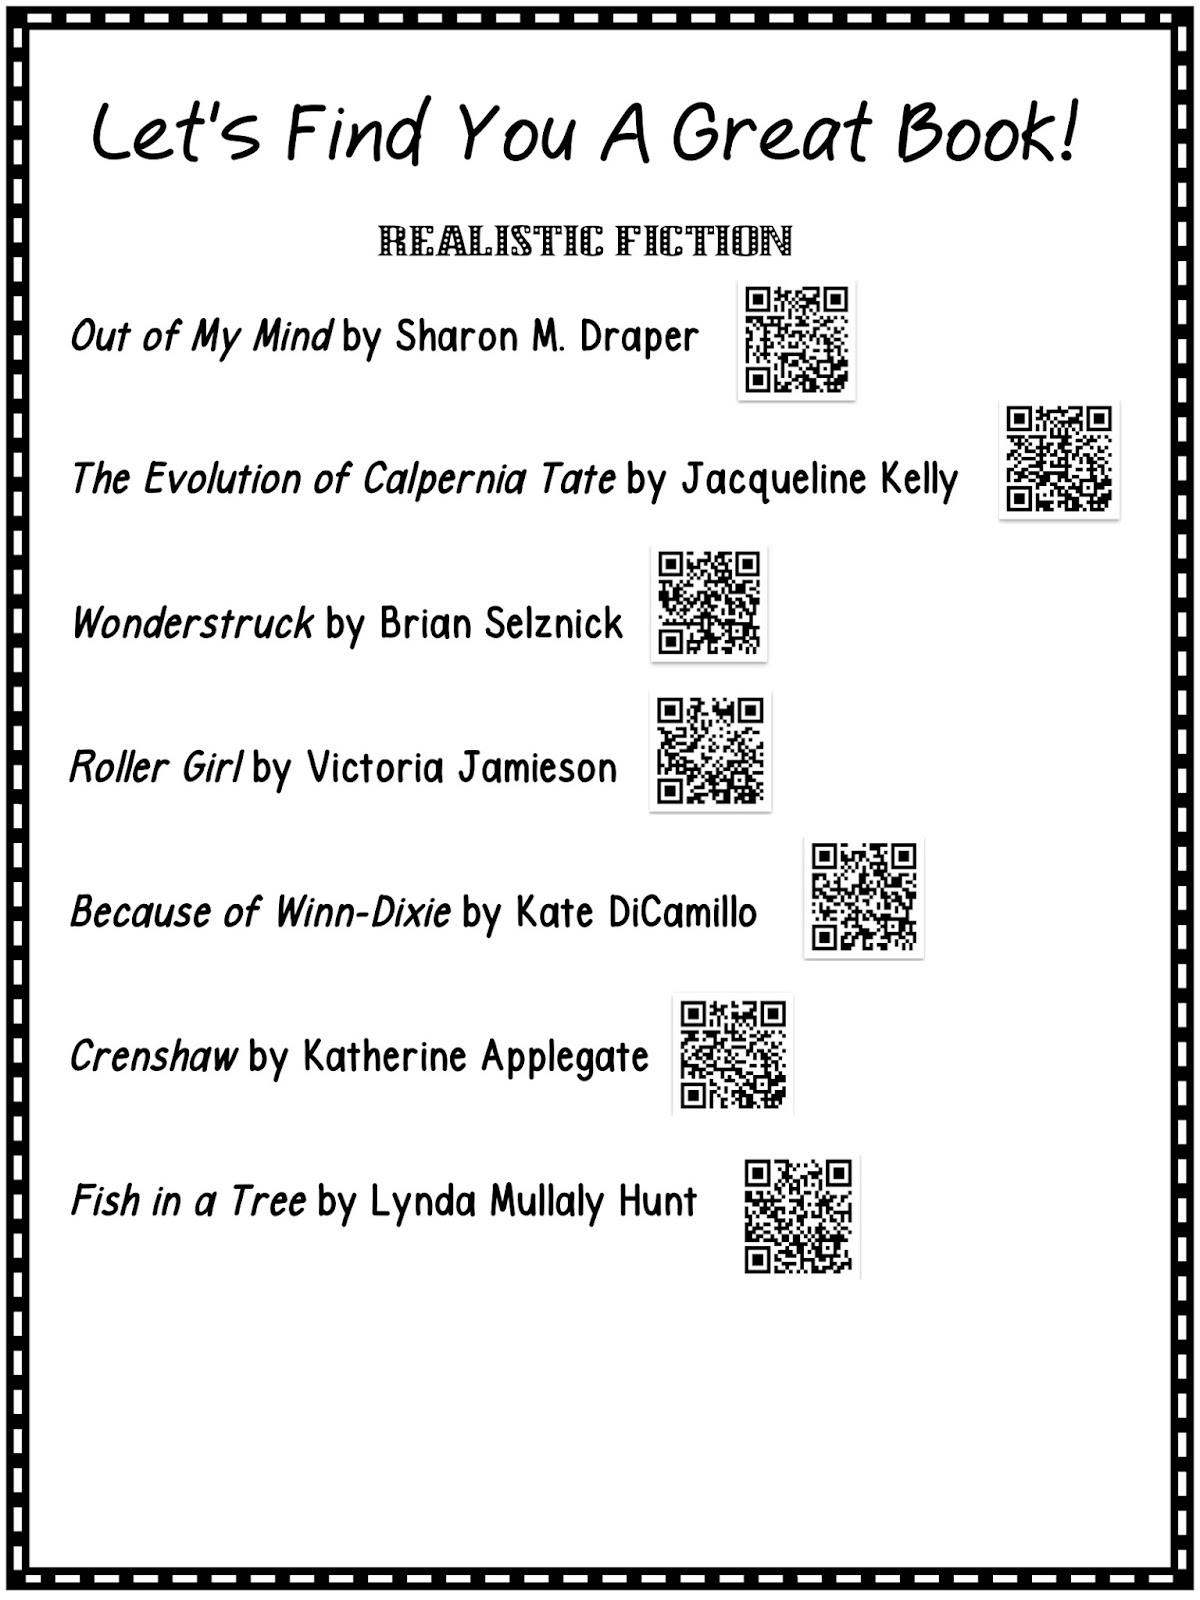
Here's the freebie I promised.

Below is a link to the blank pdf for making recording sheets or that AWESOME poster at Staples!


Until the next strategy...

Jenny :)
0

Lights...Camera...Book Trailers!! Green Screen Tutorial


Looking for a way to motivate your students to read?  Cast them in a movie...book trailer that is.  Last summer I hosted a program at our local library to boost reading motivation over the summer months.  I decided to try creating green screen book trailers.  Little did I know the overwhelming positive response it would create in students and parents!  


When the idea struck me I went online and purchased a green screen kit.  I wanted one that was PC compatible and easy to use.  I decided to go with a company, that in their store name implied "easy as 1-2-3."  (That should give you a clue, without giving away and scaring their company name.) My advice is to research the company before buying their products.  The place I purchased from was not professional or reliable.  They never gave me the key code for the software and after 6 months of begging them...and a little pressure...I finally got the program working.  Sadly, it was less than I expected and couldn't do half the fancy things I had envisioned.

So that led me to having to do it the hard way.  Our school has PCs so I looked for great programs and tutorials on creating green screen movies with Windows and I couldn't find one that I thought the students could eventually manage on their own, which was my goal.  So that led me to the decision to use my own personal Macbook.

I spent many hours trying to figure out how to create movies in iMovie.  I looked for great tutorials and articles, but none of them seemed too easy to me, and they really didn't fit my needs as a teacher.  After a year of exploring iMovie and using the green screen to make dozens of movies in my classroom, I am here to tell you this is one of the most powerfully motivating things I've ever done to inspire my students to read.  I teach struggling readers K-5.  My students do not like to read, but this idea of using a green screen was the single most powerful motivator I've ever seen!

You know how we as teachers always look for that perfect "hook"?  That perfect anticipatory set?  Well set up a green screen in your classroom and I promise you...they will BEG to read!

Here's a shot of the green screen kit I purchased.  You do not need to purchase an entire kit, I learned later.  All you need is a green background.  You can use a sheet, fabric, a curtain, or paint.  I did some research and found out the name of a green paint you could use. 

Behr S-G-430 ("Sparkling Apple")- Found at Home Depot
or
Buy a swatch of fabric you think might work.  Pin it to your clothes.  Shoot your movie and add green screen effect (steps found in Part 5) and if the background picture shows up on the swatch of fabric then that's your color.  This might be better than purchasing yards and yards of fabric that do not work.

Honestly, I think as long as you use a bright green it will work.  Some of my kids showed up wearing green and we couldn't shoot because their green shirt picked up the background. (Which left them with a floating head...he he.)


Look at my sad little broken stool:(  

My kids could hardly stand it until I explained what it was for.  Then they wanted to do nothing BUT read.  I never thought I'd ever have to say "No sweetie, we have to do this before we read."

In an earlier post I adding some of my students' videos if you'd like to see examples.  
(I've done many more since then.)

But today's focus is to show you, How You Can Easily Create Green Screen Book Trailers/Movies in Your Classroom Using iMovie. This video is Part 1 in a 7 part series.  I took it slow so you could master one section at a time.  By Part 7: Publishing Your iMovie, you will be a pro!


I hope it helps to simplify this process for you.  I will post Part 2: Saving Your iMovies next.

Enjoy!

Jenny


0

Giving An Old Idea a Facelift!

I've been spending the summer working on my TpT store..trying to create items that are too time consuming to do during the school year. As I reflect upon the years past, and try to focus on what really matters for struggling readers, I continue to come to the same conclusion.
Why do students struggle to read?
I truly believe that a majority of the students that walk through my Title I/ RTI classroom door struggle because they simply cannot decode. What fun is reading when you have to struggle to figure out a majority of the words?
(Much like going up to bat with never hitting a ball or going roller skating and always falling down...NOT MUCH FUN.)
The best remedy I have found to this day...with both young beginning readers and older struggling readers is the use of systematic decoding instruction. But, how do you keep one's interest when they are already "turned off" from the whole process?
As I sit here, I come to this conclusion...YOU HAVE TO MAKE IT FUN, EASY TO FOLLOW, EASY TO REMEMBER.
That's it. Then you practice practice practice!
That's why my 1st summer task was to update my Beanie Baby Decoding Strategies posters, graphics, and powerpoint lessons on these strategies to keep them current and to implement what I have learned over the years while teaching them.
I hope the kids enjoy them! Although it took many hours...I have no doubt it was worth every minute!
What do you use to teach decoding to your young or struggling readers?

Here are some pics of my updated items/ideas in my classroom:)

I also put the actual beanie babies on a bookcase right next to our small group table.  This way they are always right there when we need them. :)
I framed them with certificate frames from Dollar Tree.  Yep only $1 each!  Now I can easily remove them and place them on a tripod stand when focusing on a certain strategy. LOVE!


0
Back to Top